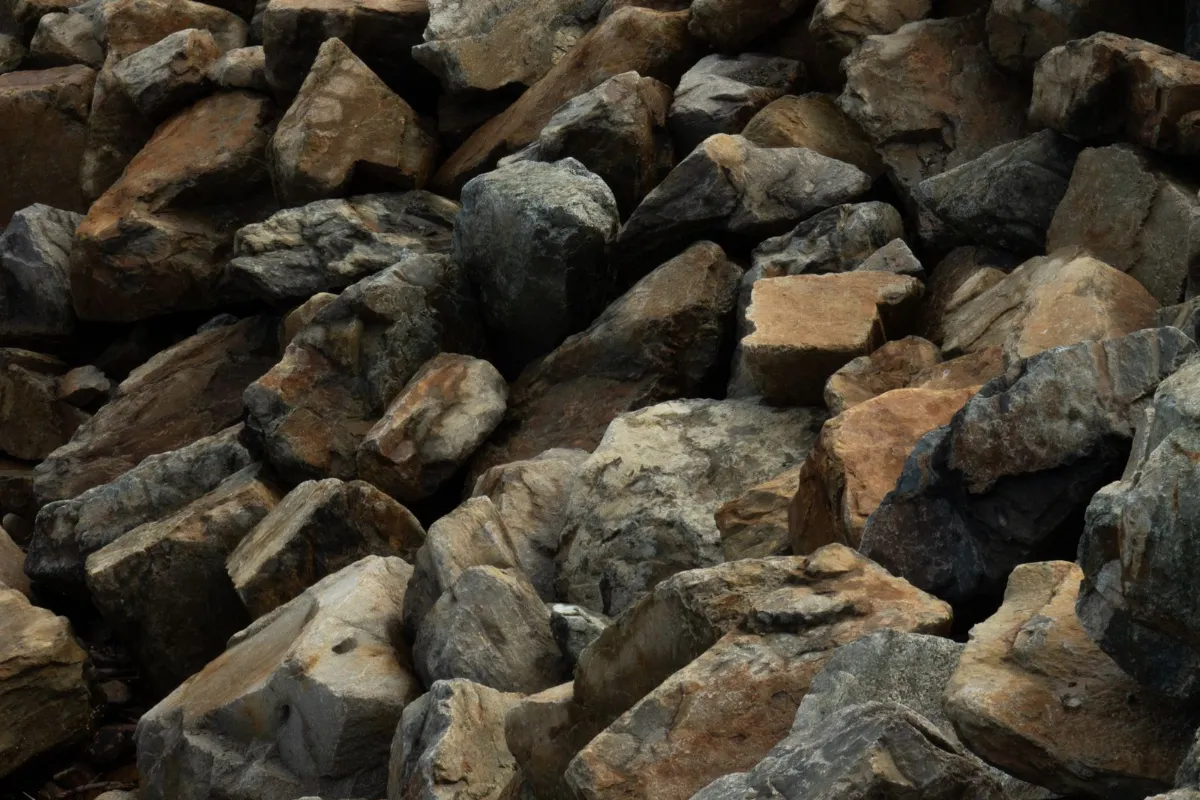
Starting your first batch is easier than it looks. You need a tumbler, the right grit, some rough rock and a few things you probably already have in the kitchen drawer. Here is the full list, a week-by-week plan, and the mistakes most beginners make.
The tumbler
For your first batch, we recommend a rotary tumbler with a 3 lb rubber barrel. Rotary tumblers round and shape rough rock, they are forgiving, and a rubber barrel runs quieter than hard plastic. Read rotary or vibratory: choosing a rock tumbler if you are still deciding.
The media
- A four-step grit kit: coarse silicon carbide 60/90, medium/fine 120/220, 500 pre-polish and aluminum oxide polish. Our grit kits include all four, and our refill kits are made for popular tumblers.
- Plastic pellets: they cushion the stones in the pre-polish and polish steps so they don’t chip as they get smoother.
- Ceramic filler (optional): tops up a light load so the barrel is always full enough to tumble properly.
The rock
Start with hard, solid stones from the quartz family, such as agate, jasper or quartz. They polish beautifully and forgive small mistakes. Bring enough to fill the barrel two-thirds to three-quarters full, in a mix of sizes. See which rocks can you tumble together before you mix types.
From around the house
- A colander or strainer for rinsing stones.
- Two buckets: one for rinsing, one for used slurry.
- An old toothbrush for scrubbing the barrel and lid.
- Measuring spoons for the grit.
- A notebook for your tumbling log.
- A level spot near an outlet where the noise won’t bother anyone, like a garage or basement.
Your first four weeks
- Week 1, coarse: about 2 tablespoons of 60/90 grit per pound of rock, with water just below the top layer of stones. Check for leaks after the first day, and vent the barrel every day or two.
- Week 2, medium/fine: clean everything, then run 120/220. Stones should come out smooth and evenly matte when dry.
- Week 3, pre-polish: clean again, then run 500 with plastic pellets.
- Week 4, polish: clean very well, then run aluminum oxide with pellets. A separate polish barrel is ideal.
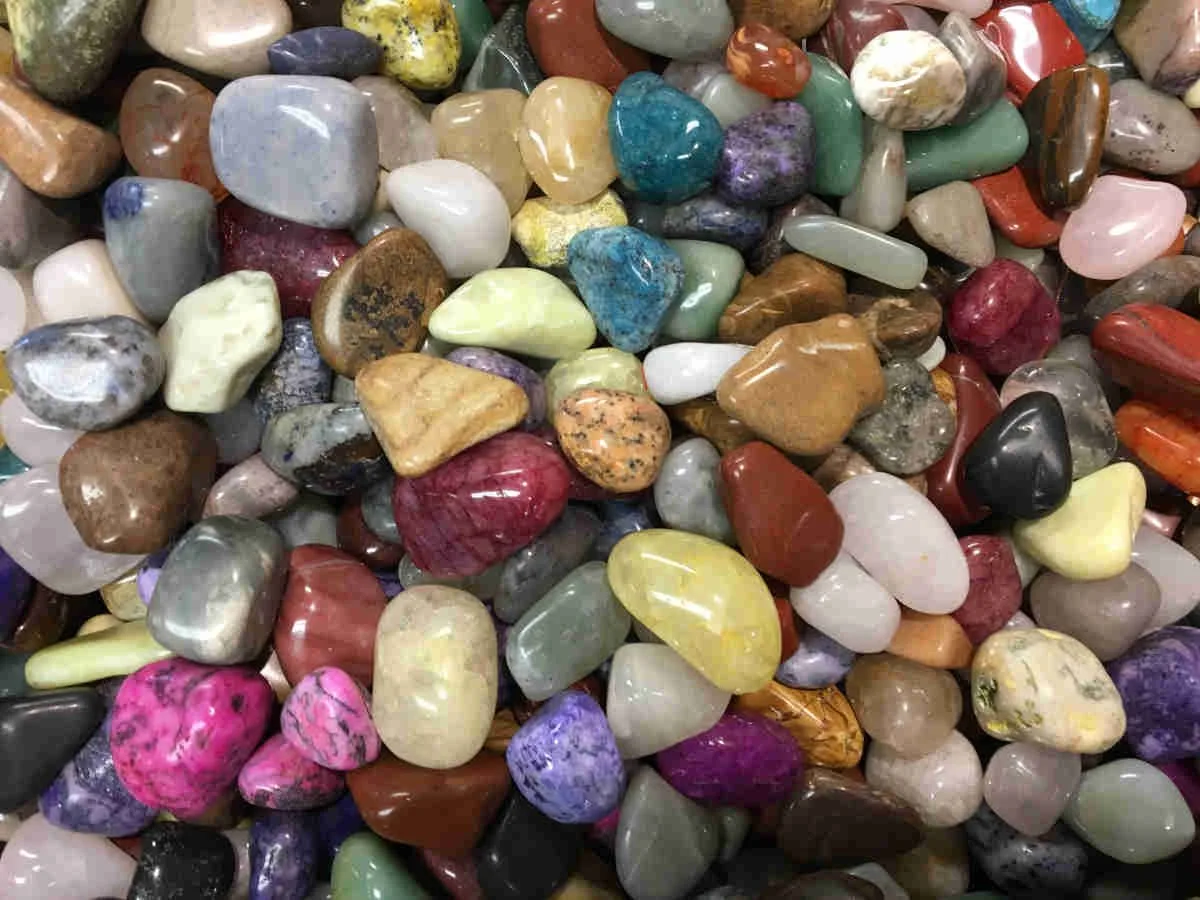
Before moving on, check a few dry stones. If the coarse step left rough spots, run it again with fresh grit. Read how to tell when a tumbling step is done for what each stage should look like.
Beginner mistakes to avoid
- Rushing the coarse step: finer grits can’t fix shape or pits.
- Mixing hard and soft stones: the soft ones wear away or bruise.
- Running a half-empty barrel: stones crash instead of rolling. Top up with filler.
- Carrying grit into the polish: one coarse grain can haze the whole batch.
- Pouring slurry down the drain: it settles in pipes and sets hard. See what to do with used grit.
Ready to start? Our four-step rotary guide walks you through every step, and if you tell us your tumbler model, we’ll recommend the right kit.