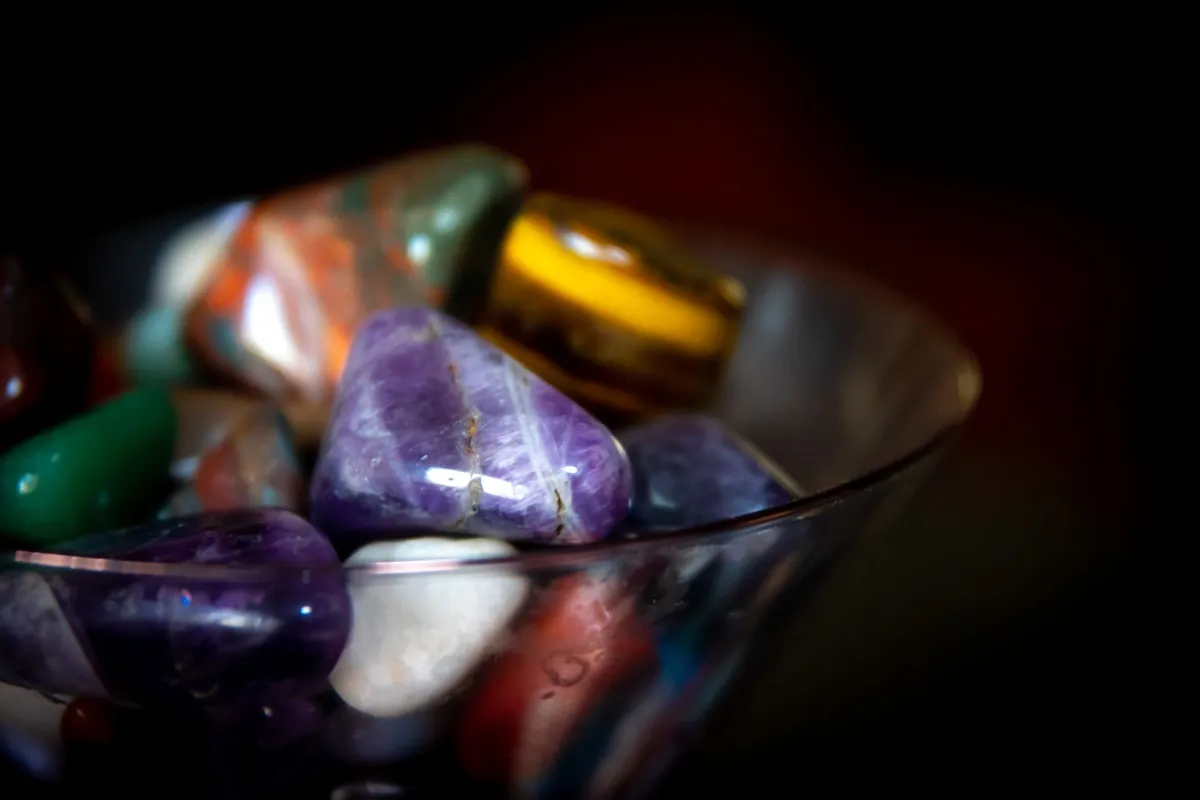
Your stones are out of the polish step and they look good, but not quite great. Often they are carrying a thin film of polish and fine residue. A short burnishing run (just stones, filler, water and a little soap) cleans that film off and brings up the brightest finish they can have.
What burnishing does, and doesn’t do
- It does: clean polish residue out of tiny pores and crevices, and brighten a good polish.
- It doesn’t: fix scratches, pits or haze from an earlier step. If dry stones still look hazy, read how to keep that underwater look and rerun the pre-polish and polish steps first.
How to burnish
- Clean everything. Rinse the stones and filler well, and scrub the barrel and lid so no polish or grit is left.
- Load the barrel with the stones and plastic pellets, two-thirds to three-quarters full, as usual.
- Add water and a little soap: water just below the top layer of stones, plus a few shavings of plain bar soap or a spoonful of borax. Avoid dish detergents that foam heavily.
- Run it for a few hours to a day. Check after a few hours. When the stones look bright and clean, you’re done.
- Rinse well and let the stones dry before you judge the shine.
Tips
- Use the same filler as your polish step: clean pellets that have never seen coarse grit.
- Open the barrel carefully: soap can build up a little foam and pressure.
- Dry stones tell the truth: always check them dry, under good light.
- For the brightest shine, a finer polish like extra fine aluminum oxide (1200F) in the polish step gives burnishing more to work with.
Burnishing for metal and jewelry works differently and uses stainless steel shot. See our steel shot guide for that, and the four-step rotary guide for the full stone schedule.